XS650 Spinning Turn Signal

So back in October 2020 I ran into a new issue.  Apparently there’s normally a pin in the neck of the turn signals to keep them facing the right way.  I discovered the one for the left rear signal had gone south.  I couldn’t find any info on the fiche, so I asked on the XS650 forum and was basically told to improvise using some appropriately-sized nail or screw.  Nobody could actually say what would fit.

Today at last I finally got around to fixing it.  I tried a nail first, but it was too small, and the next one I tried was too big.  Then I tried the kind of screw used to retain CD-ROM drives in computers (an M3-0.5) and it was also too small, but only just a little bit… and this led me to try a computer case screw, SAE 6-32, and it threaded in tightly and snugged up like it was meant to be there.

Wow. That was EASY. I could grind off the head, but I’m not going to bother. Looks okay as is.

Corona Tank Bag – Tag and Instructions

I’ve talked about my vintage Corona tank bag several times (here, here, and here) but I realized I’ve never shared the scans of the hang-tag and instruction sheet. Really, the latter is as much an advertising flier as it is instructions, as you’ll see below.

Here’s the hang-tag.  You can click the picture to see the full view (in case your browser is shrinking it).


Yes, they put the hang-tag on with a nice piece of flat-braided string.

The instructions/advertisement/whatever is a single sheet of glossy magazine cover stock (the thinner kind, but thicker than a magazine page), folded in thirds. One side is printed in color, one in black and white; the color side is advertising, while the black and white side contains actual instructions.  I’ve presented them below in sections from left to right, front to back.  The bag I bought is a version of the third one depicted on the last color panel.

Corona Tank Bag Repaired

Back in 2017 I picked up a vintage Corona tank bag.  I said in that post that I didn’t know for sure how old it was, but based on the included paperwork I assumed it was an older unit, probably from the ’70’s.  I mounted it on my 1980 Honda CB650 and used it off and on over the course of 2017 and 2018, until the Honda developed an oil leak and was sidelined in September 2018.

The Honda, as I say, was sidelined until I could budget the cost to have it repaired.  In October 2019 I finally hauled it to the bike doctor to get it fixed, and after a few weeks it returned, all better.  I often ride one of my bikes to work, and so when in the spring of 2020 I rolled the Honda out for such a ride, I went to mount the Corona bag on it to carry some small items.

Sadly, the zipper started falling apart.  The fabric seemed to have dry-rotted with age.  Note that the faux leather material the bag itself is made from is still holding up fine; it doesn’t exactly feel new, but it certainly doesn’t feel old.  But this failure, disappointing as it is, underscores that the bag must be pretty old.  The zipper was a YKK unit, the best brand made (or so they tell me anyway).  I set the Corona bag aside, unsure what it would cost to repair it.

I got cash from several family members for my birthday in the fall (apparently I’m hard to buy for) and I decided it was time to get the bag fixed.  I took it to Boyer’s Boot N Shoe in Quincy, Illinois to be repaired.  They quoted me $45.00 for the repair, the same amount as for a designer bag (who knew?) and I agreed.  When I picked it up yesterday, they only charged me $35.00.  The new zipper is silver-colored instead of gold or brass as it was before, which really looks better with the other hardware already being that color, and the repair is very nice indeed.

But as I examined the repaired bag, I noticed something hanging from one of the shoulder strap loops… it was the key.  I had thought the key was lost when I bought the bag; evidently it was trapped somewhere inside, and the lady who did the repair found it. Very cool.

It will be going on the Honda at least part of the time for 2021… I’m already looking forward to it.

Rides Around the Area

I post here all the time about working on my bikes, but I do more than work on them. I ride them. I put several thousand miles on my bikes every year; I’d do more if the weather was more cooperative. My insurance company actually told me that many people only insure their bikes for six months out of the year… I do all twelve. You never know when an unseasonably warm day will come along in the winter.

But one thing I hadn’t done in over 35 years is ride with another rider. That is, until last week when my friend Joe mentioned on social media that he had his Honda Shadow 1100 cleaned up and ready to ride… so I invited him. Joe’s not from Missouri, and consequently he’s not nearly as familiar with the paved back roads as I am. He asked me to lay out a ride that would show him some of those roads, so I did.

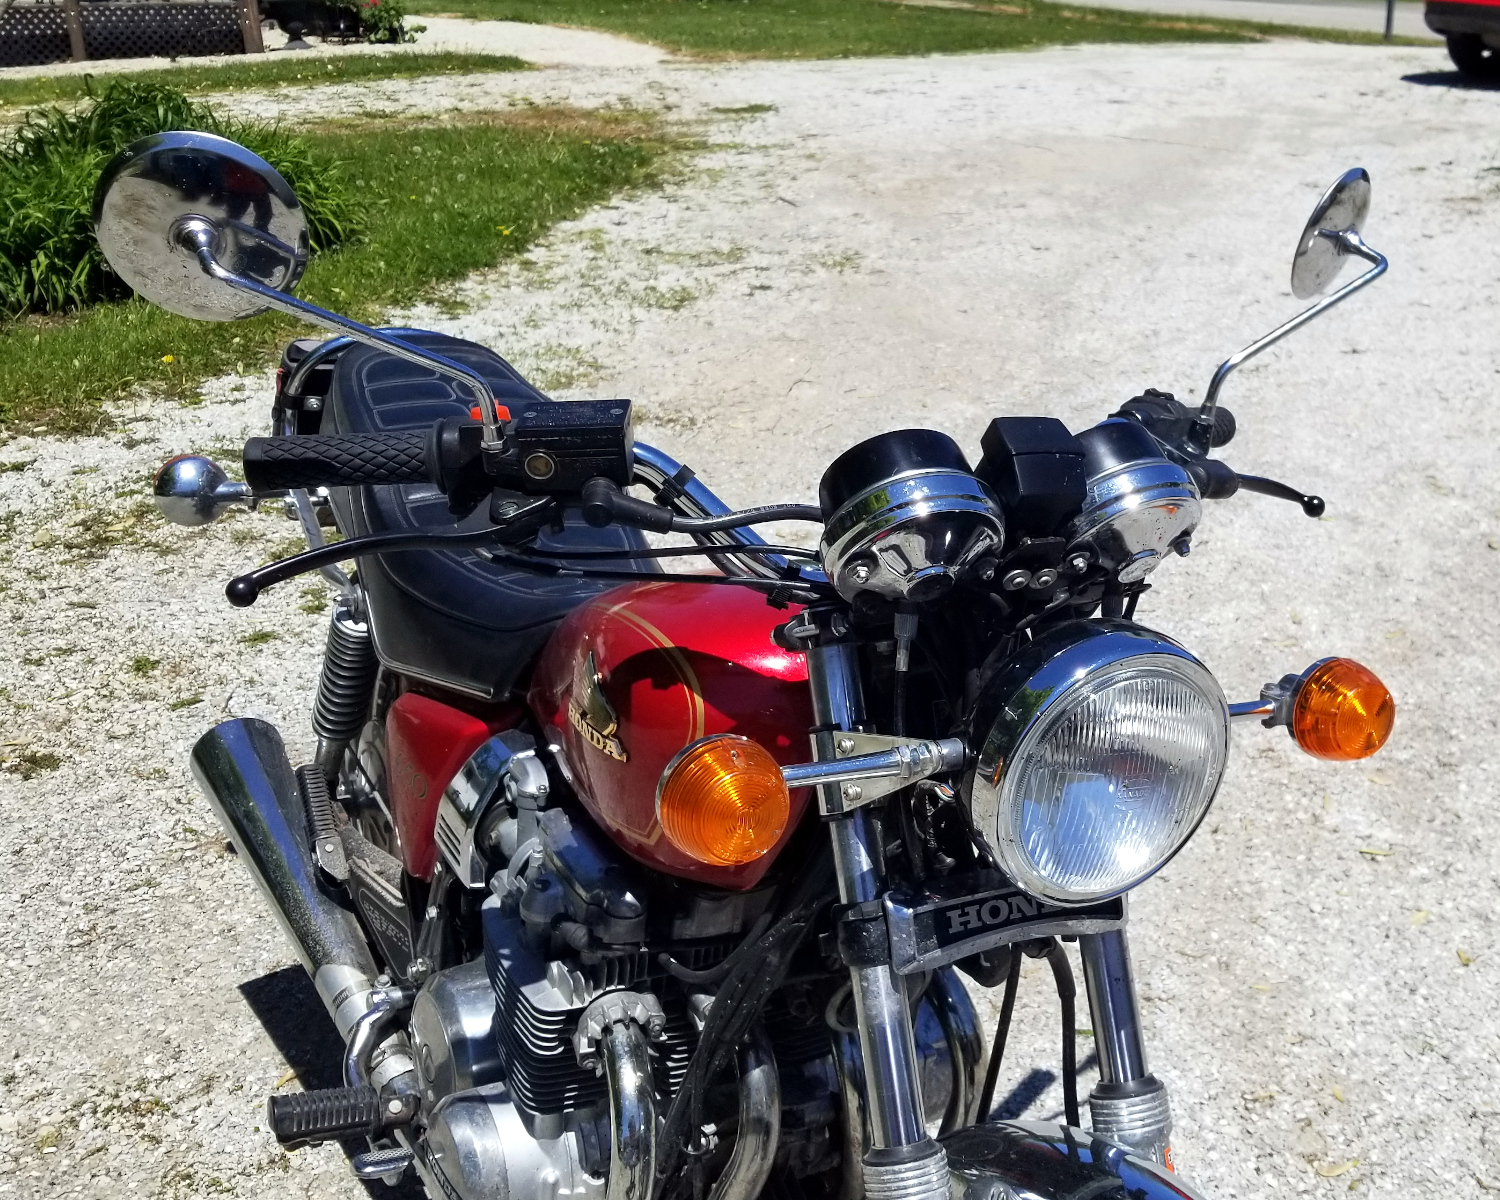
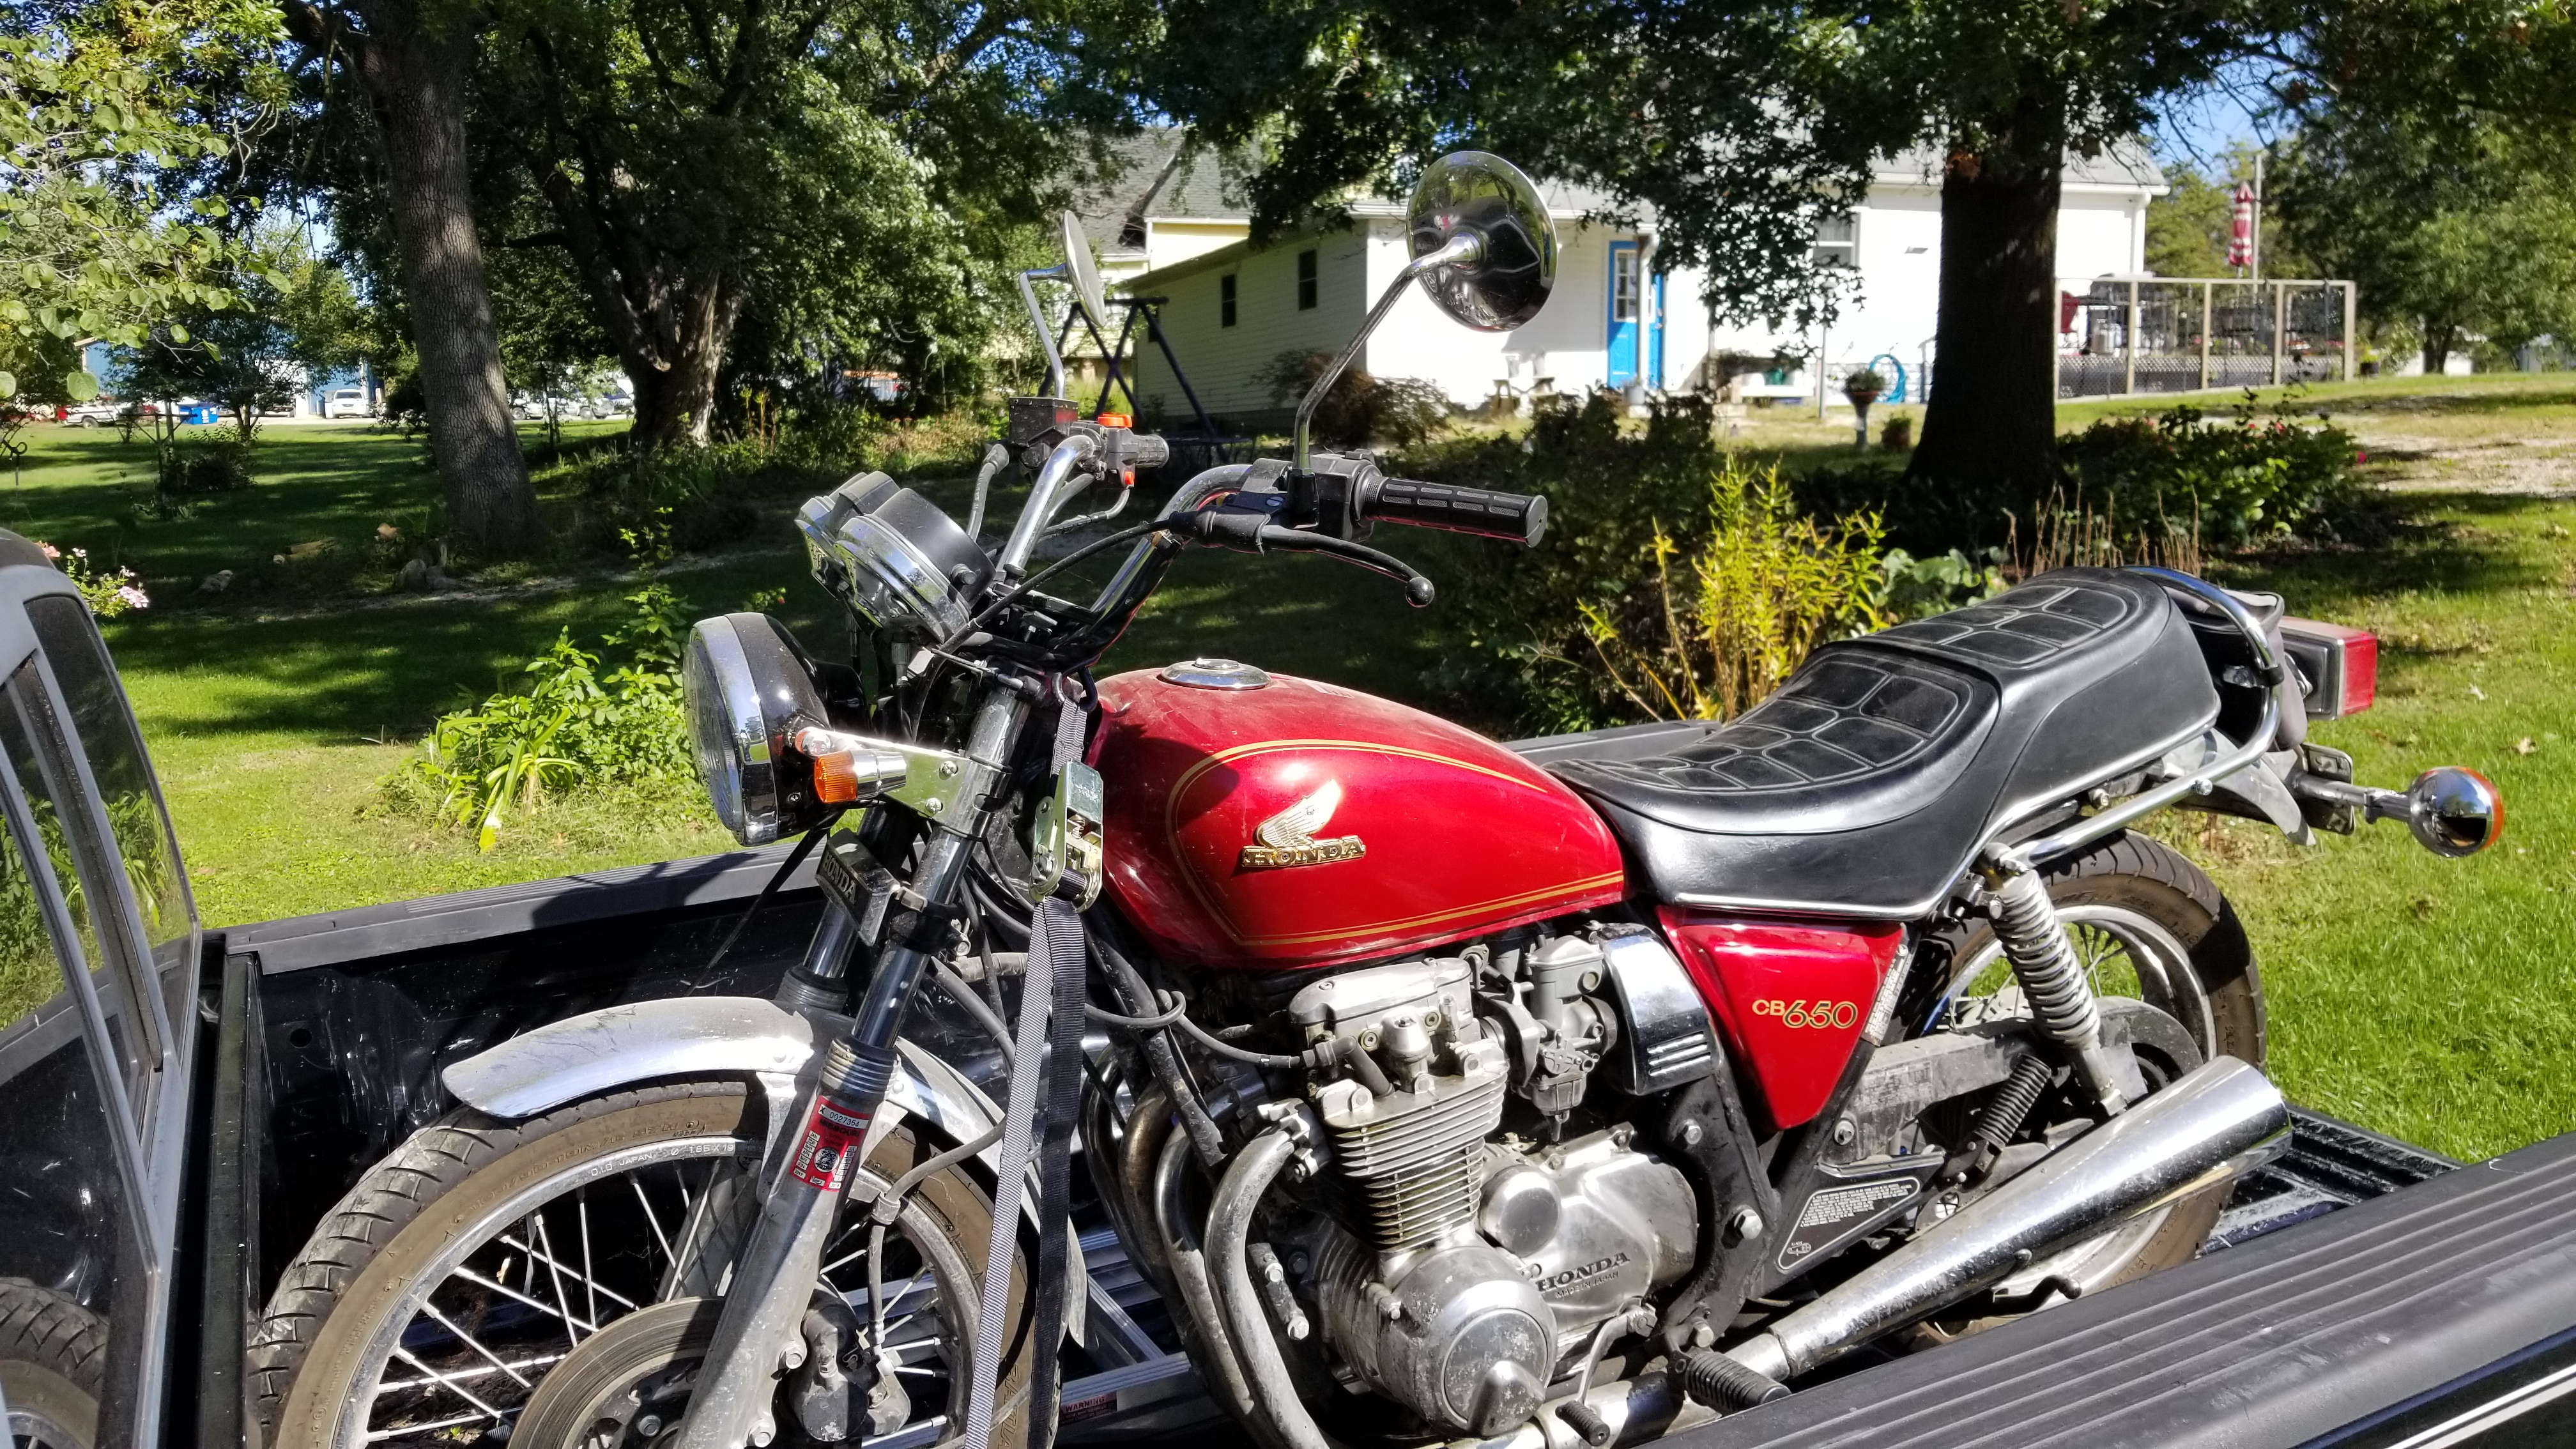
It was a beautiful Friday afternoon, mostly clear and about 80° F.  I decided to ride my CB650, putting us both on Hondas (though Joe had a significant advantage in CCs).  I left home from La Belle heading east on Missouri Highway 6, and met Joe at the Highland High School parking lot near Ewing.  From there we followed Highway 156 to the junction with southbound Lewis Co. Route D, which is where we left the roads Joe was familiar with.  Route D is a ridge road, which is probably my favorite kind.  As you can see, we didn’t quite get to Philadelphia before turning right onto Marion Co. Route J, which took us into Shelby County; despite how it looks in the image above, J has some really nice curvy bits.  At Bethel we’d been riding about an hour, and I asked Joe if he wanted to take a break or continue.

He voted continue, so we dropped down Highway 15 through town to the turnoff to Shelby Co. Route M; the eastern end of that road is both curvy and beautiful.  We turned north at Epworth on BB and followed it up to Plevna, ran a little bit of 15 north to the 156 junction, then proceeded east.  Now Highway 156 has many interesting parts, curvy pretty parts, but they aren’t close together.  The section from where we turned east to about Newark is one of those really nice bits, including some S curves and a left curve into a kinda steep drop to a right across a small bottom to a bridge, and I felt sure Joe would find it as entertaining as I did.  Before we got to Newark we turned north on Knox Co. Route E, another curvy pretty section of road running up the back side of the Newark Sever Lake.  It straightens out a bit before the junction with Knox Co. T and U; U goes east to D, just about 4 miles south of my house.  So we went that way.

Overall my track length was about 89 miles, averaging 52 MPH while moving; I use Geo Tracker on my phone to make tracks like the one above, and the app also gives me statistics.  For example, we covered an altitude difference of right at 200 feet… not that it matters at all, just fun that I can find that out.  Joe’s track length was shorter at my house, obviously, but he had to cover the same distance going home that I did meeting him in the first place.

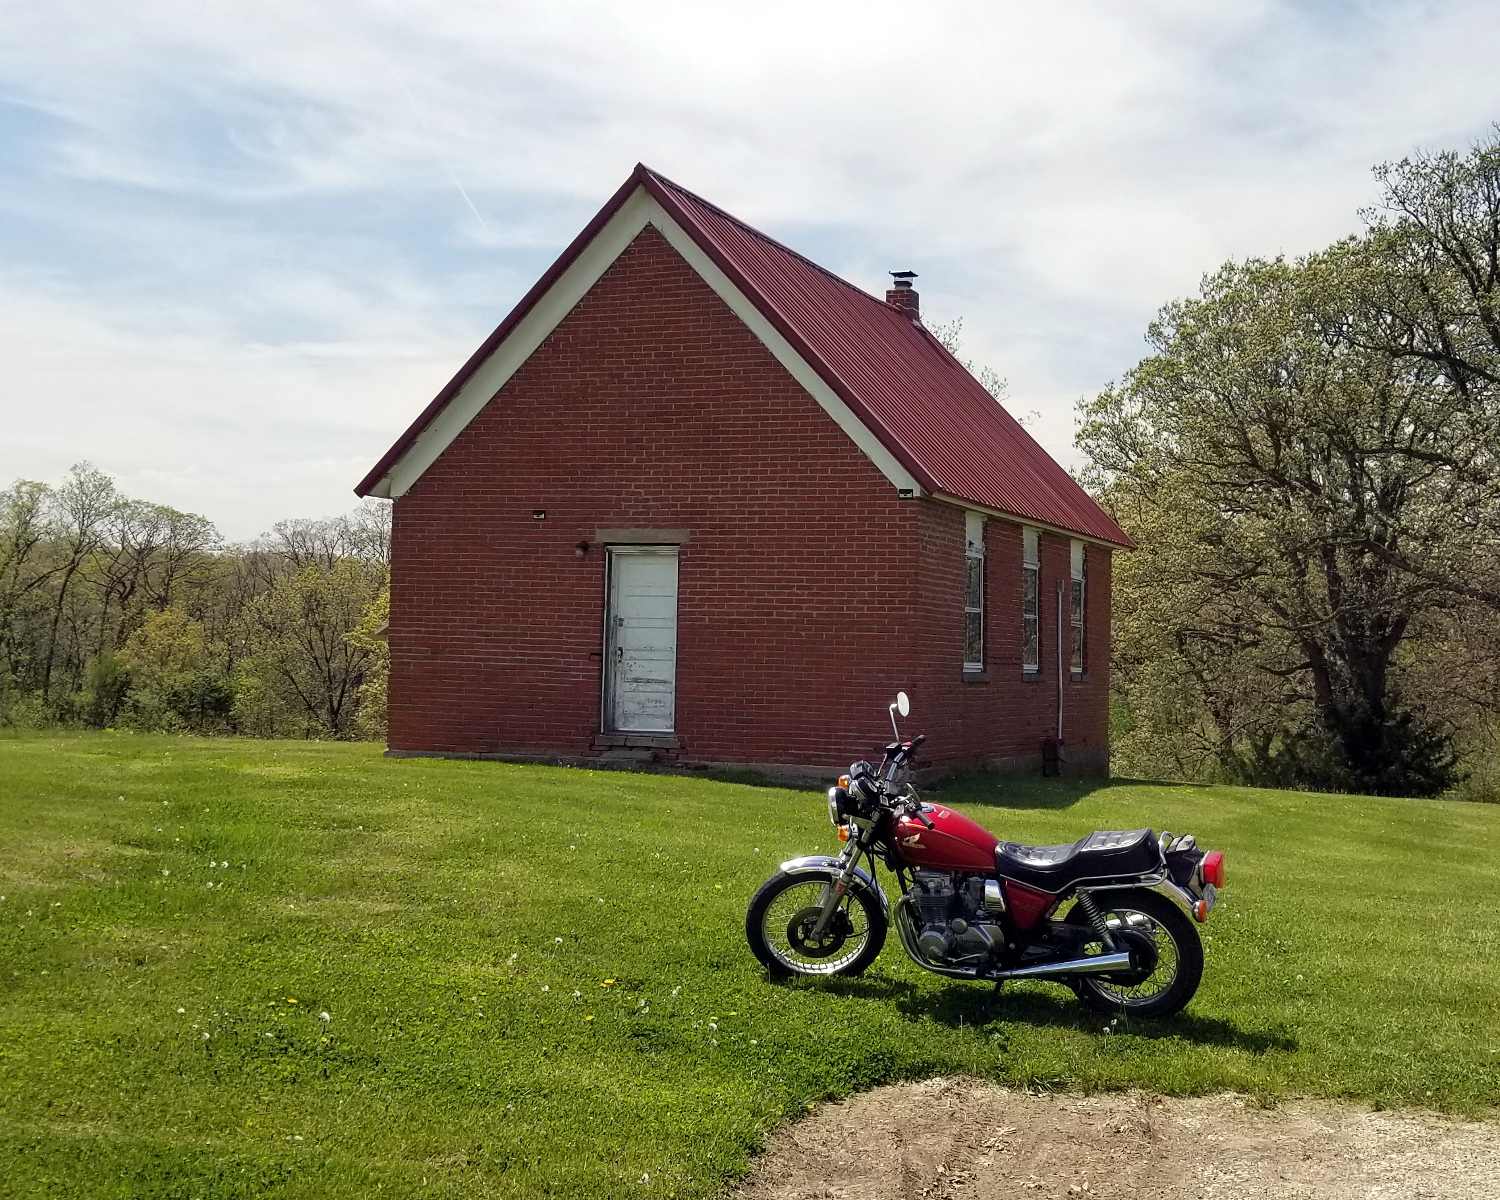
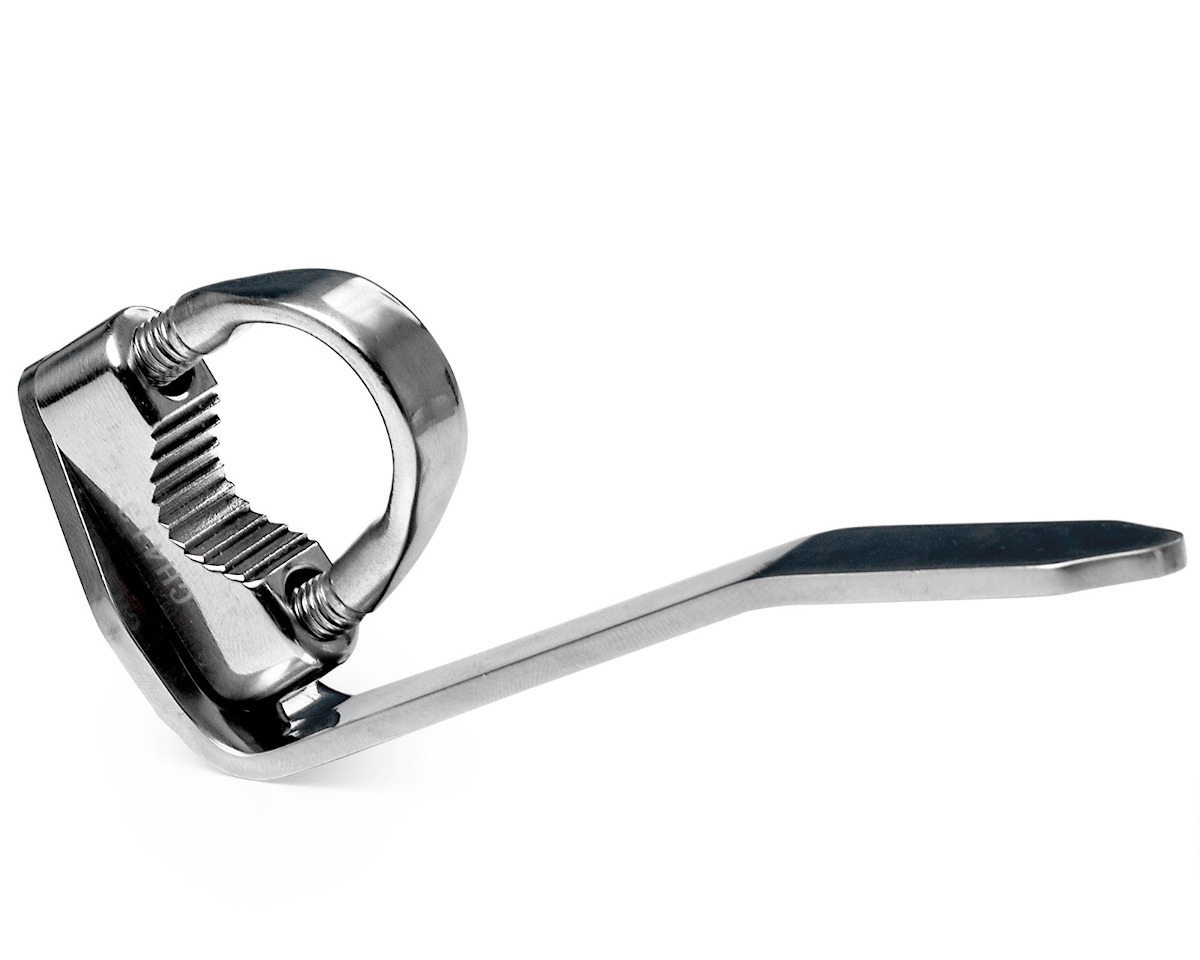
We decided to do the same thing the following Thursday, as wet weather was forecast for the next Friday.  I chose my Yamaha XS650 for this ride, and since I never fill it up before parking it (the fuel cap seal isn’t quite as good as it should be) I had to make a run out to the FS station to fill it up… that’s the little extra at the start of the track above.

This time I promised to show Joe the ridge roads in Knox County, Missouri, where I grew up and where I learned to ride.  My plan was to run up Bee Ridge aka Knox County Route T, pass through Edina to Rabbit Ridge aka Route P, go west and take Route J south through Hurdland (my home town).  From there we’d go a short way down Highway 6 to Route A, then south to Route F, then east to where Route F joins Highway 15 almost but not quite lined up with Route TT.  Now TT is a ridge road, though I don’t know the name of the ridgeline it follows.  Everything went according to plan until we reached TT… the road was closed.

SO ANYWAY, we had to find another route.  I copped out this time, as we turned south and took 15 to the same 156 junction we’d turned off at the last time, and proceeded in much the same way.  At the end of U just south of my house, Joe turned right to go to his home another way.

My track length this time was 90 miles, but that includes three miles back from the FS station where I gassed up my bike, so 87 miles.  Pretty close to the same ride length for me, though Joe rode probably 30 more miles or so.  Average speed moving was 51 MPH.

Joe and I ride differently.  His bike is bigger and more powerful than either of mine, and if he’s riding point on the straights I have to work to keep up with his acceleration.  But his bike is more work to get around the corners, so he slows down a bit for the curves.  If I’m riding point, I have to remind myself not to ride the way I usually do… I may not ride all that fast, but I don’t slow down for corners if I don’t have to.  Sometimes I forget and hit them like usual, and when the road straightens I see Joe’s bike in my mirrors roaring up to catch me.  (If I can see anything in them… the mirrors on the XS650 are almost useless above 35 MPH.)

And, as I said, the last time another rider joined me on a ride was over 35 years ago, and that friend passed decades back.  I had to learn how to ride point and wing both all over again.  On both rides I sent Joe riding point any time I knew a road ended in a stop sign, where we could switch back; it gave me needed practice riding wingman, and also let Joe experience the unfamiliar roads more directly.

BUT I wasn’t done yet:

That Thursday was just a gorgeous day, and as we had ridden in the afternoon I had the evening free.  The day had been cloudy, which was a mercy as it otherwise would have been kind of hot; the clouds cleared up some in the evening, but the temperature dropped a bit so it was still really nice out.  I was helping my wife with some work in the yard, but she could see I was itching to ride before the forecasted rain came and she told me to go, already.

So I did.  My phone was almost run down, but I had softside saddlebags on the Honda, so I plugged the phone into my “emergency” battery, strapped them together and put them in the saddlebags.  I run an app called Enduro Tracker to allow my wife to track my position; I hope I never need her to come find me when I’m unable to operate my phone, but if she ever needs to, she can.  So I wasn’t taking the phone for calls or texts, just for the tracker.  And I made a track too, just for fun.

North out of La Belle on Route K to Route Y, known as Deer Ridge Road from that junction to the tiny town of Midway (which doesn’t even appear on the track above, but it’s at the junction due north of Lewistown).  It’s easily my favorite road that I can ride regularly.  At Midway I stayed on Route Y, which involves a left turn (don’t ask me, I didn’t lay these roads out).  From Midway to the Highway 16 junction I believe it’s called Irish Ridge, and while that section isn’t as twisty as the Deer Ridge end, it’s still really nice and pretty.

Normally I’d just turn and go home at that point, taking Highway 16 to Highway 6 at Lewistown, then on home to La Belle, but it was just such a nice evening.  I wasn’t ready for it to end yet.  So I turned left instead, then right onto Route BB.  BB turns somewhat seamlessly into Route C southbound into Ewing (again, I didn’t design these crazy roads) and at Ewing I took Highway 156 out of town.  I said above that 156 has interesting and less interesting sections, and the part near Ewing is one of the better bits.  Normally I’d have gone all the way to the northbound junction for Route D, and then gone directly home, but this time instead I turned onto Route J and went north to Lewistown, and then home on Highway 6, making a stop for gas at the FS station east of town.

The stats page says I did an average of 52 MPH moving, and went 50 miles.  Altogether the ride took me an hour or just a hair more; I forgot to stop Geo Tracker when I got home, so I don’t have an accurate ride time.  An hour at a time is usually my limit when riding by myself… I really like to take a break every so often, get off and walk around and clear my head.

But of course, as I was by myself for that last ride, I didn’t have to worry about running away from anyone (or, just as significantly, keeping up with someone).  It’s fun to ride with other bikers, but it’s also fun to go at your own speed.

Shocking Issues with my XS650

My XS650 bottoms out on modestly rough bits of road when my wife rides with me, so I knew I needed to adjust the preload.  I set out to do it according to the method in the manual:

[​IMG]

But that’s not how mine looked.  Here’s a picture of the preload adjustment on the left side shock, shot from the front:

[​IMG]

My best guess is that a previous owner turned the preload to maximum, then somehow turned it another notch.  Both sides were this way, with the adjustment hole fouling against the bike.  So I pulled the shocks one at a time, which required the removal of a surprising number of fasteners, rotated the decorative bit 180 degrees and reinstalled them. The adjusters are now useful.

While I already had it apart that far I pulled the tank and rerouted the clutch cable AGAIN. This time it almost feels good… almost.  Zip tied it judiciously in the hopes it will stay put.

So then I took a short ride to verify nothing was going to fall off.  It was the first ride I’ve taken on that bike at night in some time. Turns out the instrument lights are dead… gah.  A job for another day.

I just now noticed that I never showed the results of my logo project here, so here goes.  My original right-side tank logo is missing the lower left corner, and has been since I got the bike. I planned to buy OEM replacements, until I saw a T-shirt with a rather cool alternative logo. I did my own version of that logo, somewhat different than the one on the shirt, and have been working out how to get it 3D printed. Here’s how it looks:

[​IMG]

It’s 2.8mm thick, possibly a bit thinner than would be ideal, but I think I’m going to go with it and see how it holds up. No, there are no holes; I drilled them the old-fashioned way. 3D printed items sometimes shrink a bit, so measuring and drilling seems smarter. I sanded the tops (faces) of the letters and the “swoosh,” then painted them with ordinary gold craft-type acrylic paint this time around since it’s known to stick to PLA pretty well. A topcoat of polyurethane clearcoat and it’s good.  I used an ink roller (brayer), squirting paint onto a sheet of paper, rolling it out thin over and over until it started to dry; I did this a couple of times to get it thick enough to apply properly, and then I rolled it on.

Here’s how it looks finished and installed:

[​IMG]

The holes were a bit too far apart, causing a buckle in the center; I redrilled, making the holes near the Y oval, and surprisingly it doesn’t show. Really needed to do a better measuring job.  But I think they look great.

New Handlebars on the CB650 — Wow

I changed the bars on my CB650 to a set of CB750K replicas; they are lower, straighter, and a bit wider than the stock bars. I knew I liked them on the Yamaha XS650, but the “wheelbarrow” handlebars that came on that bike were so bad that anything would be an improvement. What I did not expect is what a difference they’d make on the Honda. It feels like a different bike… the small change to the riding position not only makes it feel more surefooted, but amazingly made the seat more comfortable.

I took it out for a ride Saturday on some ridge roads near my home, stopping along the way to photograph my old school motorcycle in front of an old school.

Vintage Turn Signal Installation Completed

In my last post I described how I installed a vintage set of one-wire-and-ground turn signals on the front end of my 1980 CB650.  To recap, I discovered that the marker light power output on one side goes off when that side’s turn signal is on, and I tried (using a Y connection) to make the single filament blinker do both jobs.  The downside is that the marker light power bleeds through the turn signal circuit, turning the rear signals on (like marker lights) as well as keeping the turn signal idiot light illuminated.  The latter problem is annoying, but the former is actually not legal (in Missouri at least).

So I decided to use diodes to ensure that power flows only in the “right” direction.  Looking through Amazon’s listing, I found these:

https://www.amazon.com/gp/product/B01CXOQMJ8/

They say they are for solar cells; the main thing is, they are rated for 15 amps, ensuring they have plenty of capacity for my purposes.  Better yet, the 20 pack cost me less than $7.00 US.

A smart man, one who knew he needed diodes in the first place, would have incorporated them into the Y adapter.  I’m not that smart, obviously.  So I decided to just put bullet connectors at the ends and put it between the Y connector and the blinker output connector, inside the headlight.  I used these:

https://www.amazon.com/gp/product/B01EREJYMY/

I’ve had them for quite a while, as I got them to help with the rewiring of this bike back when I bought it.  Here’s what I started with:

The spec sheet for these diodes says the color band is on the cathode (negative, or in this case ground) side.  They should go toward the turn signal, and since it has a male connector the diode’s cathode gets a female.  After a trim:

I crimped them on:

I knew before I started that crimping wouldn’t work very well, since the conductors are solid, but I didn’t have solder-type connectors and did not feel like ordering any. So I just hit them with solder:

It was tricky holding the part while doing the soldering, until I thought of this:

After doing the soldering I dug up a bag of assorted heat shrink tubing. I started with the small stuff, doing this:

I added a layer of the larger size (mostly to cover the female side), then used a bit of some pretty large stuff to wrap the whole part:

The assorted heat shrink came from Harbor Freight:

https://www.harborfreight.com/9-piece-heat-shrink-wire-wrap-assortment-96024.html

As you can see, it didn’t cost me much, and I still have most of it left. The larger stuff came from Amazon:

https://amazon.com/gp/product/B01DIRBYEM/

Higher, but I got it for a different project and used about 2 inches of it, so the cost is negligible.

Now let me admit that I screwed up two of these diodes before I figured out how to make these properly. Practice makes perfect. If I hadn’t screwed up any of them, the cost each would shake out to about $0.86 US… less than a dollar each.  Not bad at all.

Oh, and they work.  Have not ridden yet, but just testing in the garage, everything worked on the first try.  Very nice.

Puttering Around…

I got in my first real ride of the year on the CB650 on Saturday (March 28th).  Made a loop in the early afternoon, north on Lewis county route K, then right on route Y aka the Deer Ridge Road.  I’ve said before, I love the ridge roads, and when I’m wanting a quick ride Deer Ridge is usually my choice.  It’s a bit chewed right now, needing some attention from the highway department, but it was pretty much empty thanks largely (I think) to the ongoing pandemic.  Deer Ridge (the ridge itself, not the road or the town) ends more or less at the town of Midway; there, route Y hangs a left and becomes Irish Ridge.  Not a lot of people around here use the name; it may never have been popular, but I know of at least one landmark on that ridge that still bears the name: the St. Patrick Irish Ridge Cemetery.  It’s twisty, not as twisty as the Deer Ridge section, but enough to be fun.  It runs out on a hilltop where it connects to Missouri Highway 16, and from there I take a right back to Highway 6 at Lewistown and thence to La Belle.  If I want a shorter loop, at Midway I just keep going straight onto route H, which in turn drops me at Lewistown.

Saturday I took the longer loop.  The weather was partly cloudy and humid, and just warm enough that I thought I could go without my jacket; a mistake, as the sky clouded over and the temperature dropped almost 10 degrees.  Still a good ride.  My wife told me on my return that we needed to go pick up some groceries she had delivered to our daughter, so we did that, loading the car in a rainstorm.  We drove out of it on the way home, and when I got there it was really, really nice, sunny with a few scattered clouds, and the temperature was back up over 72° F (about 22° C), and so I rolled the CB650 back out for another ride.

South this time, route D to route U west.  I planned to pick up another ridge road, Bee Ridge, which is Knox County route T.  It’s twisty and nice, a lot like Deer Ridge but not as many ups and downs.  However, just as I came up to the intersection, a pickup truck turned west in front of me.  Naturally I didn’t want to follow him, and while I had about a mile or so where I might have been able to pass, instead I turned left and ran route E to Missouri 156, enjoying the better (curvier) parts of both, and then ran route TT from southeast to northwest.

TT is a ridge road, but if it has a name I’ve never heard it.  It’s a beautiful route, being less curvy and more hilly than the others but still quite nice.  It runs out at Missouri 15 a few miles south of Edina, which is where I paused to take a break.  I’d been on the road about an hour, and I always try to text my wife when I’m out riding every hour so she doesn’t worry about me.  And my butt, out of shape from a winter spent on the couch or in my car, was needing a break.

When I was done with that I headed west out of town, then took a right at the bottom of the hill onto the northwestern end of Bee Ridge Road (route T, as mentioned above).  It’s as good in one direction as the other, and I thoroughly enjoyed it.  Then back down U and up D to home.


It’s really nice to have the CB650 back in service after doing without it last year.  The head gasket repair seems solid, and the repairman changed the plugs while he was at it.  I had Reo’s Rides in Kirksville, MO do the work for me, and I couldn’t be happier.

Still, there are always things to do with a vintage bike.  One annoyance on the CB650 was the kickstand; the tang you’re supposed to push with your foot to lower and raise the kickstand.  You see, the original broke off a couple of years ago, just before I benched the bike because of the head gasket leak.  So I got this:

The kickstand is a bit larger in diameter than I thought, and so I had to use, um, “excessive force” to install it, and yeah, it failed me, but I’m pretty sure it’s not because of the “excessive force” bit.  Here’s what it looked like after basically one ride (the first one from Saturday, as described above):

A picture, as they say, is worth a thousand words.  That bend came from pressing down on the tip of the extension with the edge of my rubber-soled sneaker.  What a disappointment.

So I dug around my shop and found a piece of 3/16″ thick, 1″ wide steel bar, got out my grinders (one with a cutting wheel, the other with a grinding wheel), and with the added assistance of my bench vice I made this:

I didn’t take a picture of it folded up, but it tucks nicely up under the exhaust with just a bit sticking out for my shoe to catch.  And it’s a lot thicker and stiffer than the Krator part.  Honestly, I cannot recommend that item to anyone… it’s just not strong enough.

The other thing I did in the last few days is to upgrade my turn signals.  If you’ve read my earlier posts, you know that the bike came with an ugly, beat-up Vetter Quicksilver fairing on it, and one of the very first things I did was pull it off.  This left me without headlights and signals, and so I bought some aftermarket parts.  But the first set of aftermarket blinkers are small and did not fit the style of the bike, so eventually I bought a second set, which are still too small but at least looked kind of like they belonged.  Here’s a pic from a couple of years ago showing them:

Last year at a garage sale in an actual automotive garage (former gas station/repair shop, long closed, but still cool) I found a pair of Honda signals.  They are from an early ’70’s CB350, or so I was told, and I’m pretty sure they came from the back of the bike; they are one-wire-and-ground, which supports that theory.  But they are smaller than the rear signals on the CB650 and fit the style fairly well, so this weekend they went on:

Nice, eh?  While I had the headlight off and was figuring out the usual installation issues, I noticed that the bike turns off the marker light function when it turns on the blinkers.  I realized correctly that I could hook both functions up to the blinkers and they would work fine, even though there’s only one filament.  What I failed to understand is that the marker light voltage would go the “wrong” way back toward the blinker circuits, making the rear signals into marker lights and keeping the turn signal idiot lights on solid when the blinkers are not engaged.

I had a similar problem with a DIY model rocket launch system a few years ago; arming one of the four launch positions would light up all the arming indicator lights, due to voltage going the “wrong” way through the circuit.  The solution was obvious… I needed a diode in each arming switch circuit, ensuring that the voltage only went the way I wanted it to go.  That answer will work here as well… a diode in each line between a turn signal output connector and the matching front turn signal will allow the blinking voltage to go where it’s supposed to, while blocking the marker light voltage from going the wrong way down that wire.

So now I have to find appropriate diodes.  It wasn’t too hard on the launch controller, so I’m hoping it won’t be too hard on the bike.  But if this works, it will be darned nice.

Rubber Donut Info — Bridgestone Battlax BT45

I don’t think I’ve made any notes about the tires I run on my CB650, and I need to so I do not forget.

The front tire of the CB650 is a 100/90-19 tube-type, while the best choice I’ve found for the rear is a 130/80-17.  About the only cost-effective tire available in tube-type for both of these sizes is the Bridgestone Battlax BT45, which I discovered back in 2016 when I was refurbing this bike.  However, there is one problem I’ve found… many sites which sell this tire can’t be relied upon to properly identify the tube-type vs. the tubeless model.  So here’s the info.

The tube-type BT45’s I run on the CB650 are these:

Front: Battlax BT45 100/90H-19, part no. 001029
Rear: Battlax BT45 “J-Spec” 130/80H-17, part no. 001046

It’s often difficult to figure out whether the 130/80-17 is tube-type or tubeless, but the part number doesn’t seem to lie.  The tubeless version is part no. 066184.  I messed up an order, so now I have one of those on the CB650 with a tube in it, and it’s fine but it was a bear to get it on.  The bead just would not seat, and I had to take it to a local mechanic who had a more potent air compressor to get it seated.  Next time around, it’s back to the tube-type.

There are very few good choices for the rear tire on the CB650, and in my opinion the Battlax BT45 is the best of them (and about the least expensive as well).

CB650 to the Bike Doctor

So my CB650 sat, I’m sad to say, all of this year.  It had an oil leak from the cylinder head that was a slow seep when I got it, and a mechanic told me how much it would cost to fix it and suggested I just live with it. So I put about 8,000 miles on the bike, filling up the oil whenever it went down, and I was happy.

Until it started spraying oil on my pants leg. Gah. This is why it sat out the riding season… I knew what the fix was going to cost, and I had to save up my pennies to pay for it. I can do a lot of mechanical stuff, but I knew beyond a shadow of a doubt that I had no business taking the top end apart myself.

Week before last I loaded her up and hauled her to Reo’s Rides in Kirksville, MO. I’m told Reo is good, and he’s just a bit less expensive than Cycle Tech up at Fremont, IA where I got the carbs rebuilt. And he’s a lot closer to home, making it less of a production to take the bike there and then retrieve it.

Here’s hoping everything goes well!